The Best Soft Pretzel Recipe: Fluffy, Buttery & Ready in 1 Hour
Imagine biting into a warm, soft pretzel, its exterior perfectly golden and subtly crisp, yielding to a fluffy, buttery interior. Now, imagine making that culinary dream a reality in just about an hour, right in your own kitchen! Forget the long lines at the mall or the disappointing store-bought versions; creating your own homemade soft pretzels is not only incredibly satisfying but also surprisingly simple. This comprehensive guide will equip you with the ultimate soft pretzel recipe, designed for speed, flavor, and that irresistible authentic texture that will have your family asking for more. Many shy away from baking, believing it to be a complex, time-consuming endeavor. But just like a batch of homemade dinner rolls or freshly baked white bread, some of the most rewarding foods are surprisingly straightforward to create from scratch. Soft pretzels are a prime example. Once you experience the unparalleled taste and freshness of a pretzel pulled straight from your oven, you'll understand why this recipe is a game-changer. Get ready to embark on a delicious journey that proves making gourmet treats at home is not just possible, but preferable. For more in-depth tips on ditching store-bought, check out our guide on Master Easy Homemade Soft Pretzels: Ditch Store-Bought Forever.Why Homemade Soft Pretzels Reign Supreme
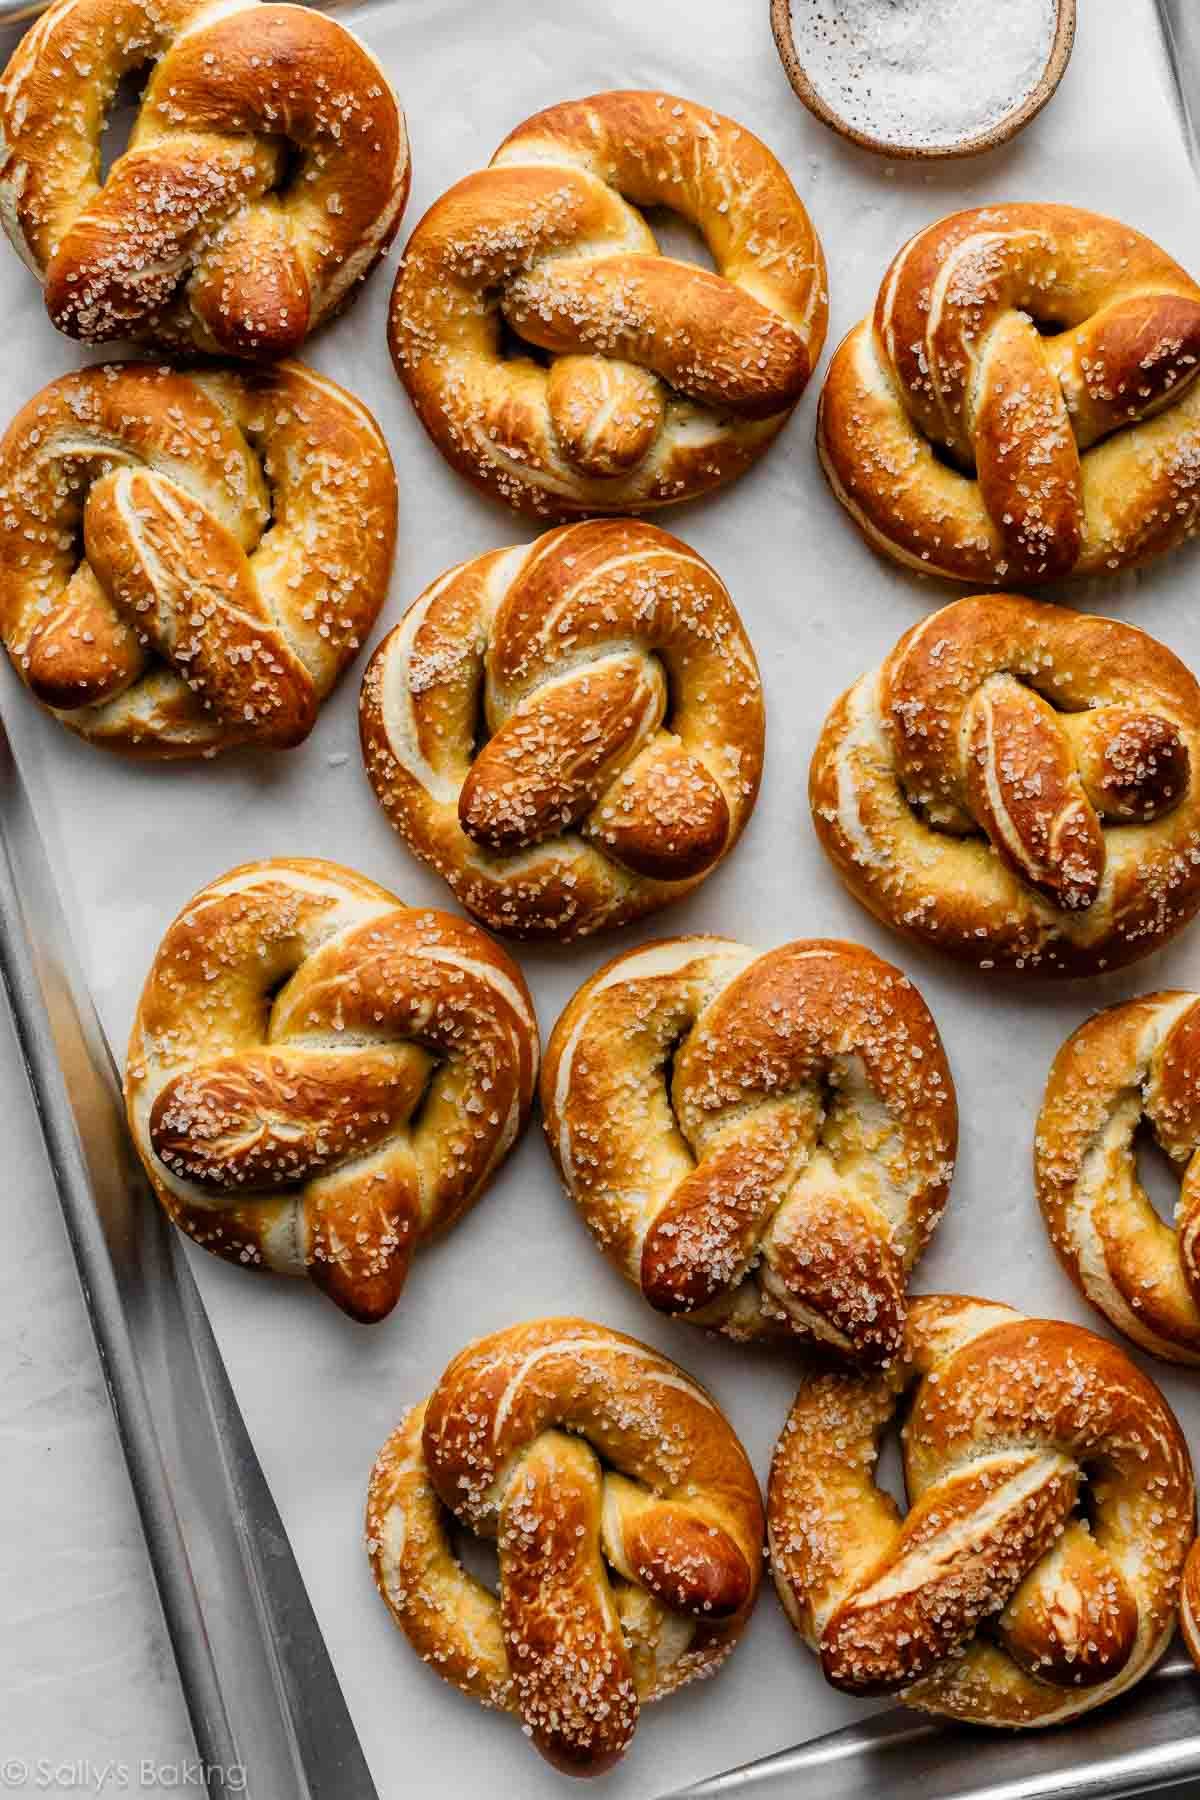
The allure of a homemade soft pretzel goes far beyond simply saving a few dollars, though that's certainly a perk. When you bake pretzels at home, you're in control of every single ingredient, ensuring freshness, quality, and the absence of any artificial additives or preservatives often found in commercial products. This means a cleaner, more wholesome snack that tastes infinitely better. The difference in flavor between a fresh, warm pretzel straight from your oven and one that has traveled from a factory to a store shelf is truly night and day. Beyond the ingredients, there's an undeniable joy and satisfaction in creating something delicious with your own hands. The aroma of yeast activating, the feel of the dough as it comes together, and the anticipation as they bake to a beautiful golden brown – it's a sensory experience that store-bought simply can't replicate. Historically originating in Germany, where they’re often referred to as German soft pretzels, these treats have a rich heritage, and bringing that tradition into your kitchen connects you to a timeless culinary craft. Plus, serving up a tray of warm, fluffy, buttery pretzels that you made yourself is a fantastic way to impress guests or simply treat your loved ones. This soft pretzel recipe makes approximately 8 large pretzels, offering incredible value and enjoyment compared to buying just one or two.Unlocking Pretzel Perfection: Essential Ingredients & Their Magic
The beauty of this soft pretzel recipe lies in its simplicity, utilizing basic, everyday pantry staples. Each ingredient plays a crucial role in achieving that iconic soft, chewy texture and irresistible golden crust.- Warm Water: The foundation for activating your yeast. Ensure it's warm (around 105-115°F or 40-46°C) – too cold and the yeast won't wake up; too hot and you'll kill it.
- Brown Sugar: This isn't just for sweetness! Brown sugar acts as food for the yeast, helping it to activate and thrive, contributing to the pretzel's rise and adding a subtle depth of flavor.
- Yeast: The magical leavening agent that gives pretzels their rise and signature fluffy texture. For a 1-hour recipe, we highly recommend using instant rise yeast (sometimes labeled "quick rise" yeast). It activates faster and doesn't require as much proofing time as active dry yeast, streamlining your process.
- Unsalted Butter: Melted and incorporated into the dough, butter imparts incredible richness, flavor, and contributes to the pretzels' tender crumb. Using unsalted butter allows you to control the overall saltiness of your dough.
- Sea Salt: Essential for seasoning the dough itself, enhancing all the other flavors. A generous sprinkle of coarse sea salt on top before baking is non-negotiable for that classic pretzel finish.
- All-Purpose Flour: The structural backbone of your pretzels. Standard all-purpose flour provides the perfect balance of gluten development for a chewy, yet tender, result.
- Baking Soda: This is the secret ingredient for the alkaline water bath. It's what jumpstarts the Maillard reaction, giving pretzels their characteristic deep brown color and that wonderfully chewy, slightly crusty exterior. We’ll delve more into this critical step shortly.
- Egg Yolk with Cold Water (Egg Wash): Whisked together, this creates a simple but effective egg wash. Brushed onto the pretzels just before baking, it's what gives them that beautiful, glossy, golden-brown finish, mimicking what you see in professional bakeries.
Your 1-Hour Journey to Fluffy, Buttery Pretzels: A Step-by-Step Guide
Achieving delectable soft pretzels in an hour might sound ambitious, but with these clear steps and instant yeast, it’s entirely within reach.1. Activate the Yeast (5-7 minutes)
In the bowl of your stand mixer (or a large mixing bowl if kneading by hand), combine the warm water, brown sugar, and instant yeast. Give it a quick whisk to ensure everything is well combined. Let this mixture sit undisturbed for 5 to 7 minutes. You'll know your yeast is alive and ready when a foamy, frothy "raft" forms on the surface. If nothing happens, your water might have been too cold or too hot, or your yeast may be expired – start over.
2. Form the Dough (10-15 minutes)
Once the yeast is activated, attach the dough hook to your stand mixer (or prepare to knead by hand). On low speed, gradually add the melted unsalted butter and sea salt to the yeast mixture, allowing them to fully incorporate. Next, begin adding the all-purpose flour, one cup at a time, letting each addition mix in gently before adding the next. Once all the flour is in, increase the mixer speed to medium-low and continue to knead for about 5-7 minutes until the dough comes together in a smooth, elastic ball that pulls away cleanly from the sides of the bowl. If kneading by hand, turn the dough out onto a lightly floured surface and knead vigorously for 8-10 minutes until smooth and elastic.
3. Shape Your Pretzels (10-15 minutes)
Divide your dough into 8 equal pieces. On a lightly floured surface, roll each piece into a long rope, approximately 20-24 inches long and about ½-inch thick in the middle, tapering slightly at the ends. To form the classic pretzel shape, create a U-shape with the rope. Take the ends, cross them over each other, then twist them once. Bring the twisted ends down and press them firmly into the bottom curve of the U-shape. This firm press is crucial to prevent them from unraveling during baking.
4. The Alkaline Bath (2 minutes per pretzel)
This is arguably the most critical step for that authentic pretzel experience. Preheat your oven to 450°F (230°C) and line two baking sheets with parchment paper. In a wide pot, bring 8-10 cups of water to a rolling boil. Carefully add ½ cup of baking soda to the boiling water – it will foam up considerably, so use a larger pot than you think you need. Gently drop one or two shaped pretzels into the boiling alkaline bath at a time. Let them simmer for about 30 seconds per side, then carefully remove them with a slotted spoon or spider, allowing excess water to drip off. Place them on the prepared baking sheets, spaced well apart. For a deeper understanding of this magic, explore Unlock Chewy Golden Soft Pretzels: The Alkaline Bath Secret.
5. The Egg Wash & Bake (12-15 minutes)
Once all your pretzels have taken their bath and are on the baking sheets, whisk together the egg yolk and cold water to create your egg wash. Generously brush each pretzel with the egg wash. This will contribute significantly to their glossy, golden-brown finish. Immediately sprinkle each pretzel with coarse sea salt. Bake in the preheated oven for 12-15 minutes, or until they are deeply golden brown and look absolutely irresistible. Watch them closely, as oven temperatures can vary.
Mastering the Bake: Pro Tips for Golden, Chewy Results
To truly perfect your soft pretzel recipe, a few expert insights can make all the difference:- Don't Rush the Kneading: While we're aiming for speed, proper kneading is non-negotiable. It develops the gluten, which is essential for that characteristic chewy texture. If your dough feels too sticky, resist the urge to add too much extra flour; a little stickiness is normal, and kneading will make it less so.
- Consistent Shaping: Try to roll your ropes to a uniform thickness. This ensures even baking. Practice makes perfect when it comes to the pretzel twist! Don't worry if your first few aren't picture-perfect; they'll still taste amazing.
- The Alkaline Bath is Key: Do not skip or shorten this step! The baking soda bath is what gives soft pretzels their unique flavor, color, and chewiness. It raises the pH of the pretzel's surface, accelerating the Maillard reaction (the browning process) during baking.
- Even Baking: If your oven has hot spots, rotate your baking sheets halfway through the baking time to ensure all pretzels brown evenly. Overbaking can lead to dry, tough pretzels, so keep an eye on them.
Beyond the Bake: Serving, Storing, and Savoring Your Creation
The best part about this soft pretzel recipe is, of course, the eating! Serve your homemade pretzels warm, straight from the oven. They are absolutely divine on their own with just a sprinkle of salt, but here are some popular ways to enjoy them:- Classic Dipping: Pair with spicy brown mustard, honey mustard, or a creamy cheese dip.
- Sweet Treat: Skip the salt and brush with melted butter, then sprinkle with cinnamon sugar for a delightful dessert pretzel.
- Savory Enhancements: Add grated Parmesan cheese or everything bagel seasoning before baking for an extra flavor kick.
